The Beginner’s Guide to MetaMask
The MetaMask wallet is an indispensable tool for interacting with DeFI applications. Learn how to install and use MetaMask for sending, receiving, or swapping cryptocurrencies.
The year 2020 made history with not just the Covid-19 pandemic, but with an unprecedented cryptocurrency boom that sent shock waves across the world economy.
Unless they have been curled under some rock in the remotest area of the planet, everyone is now aware of cryptocurrencies. Although there are many who think cryptocurrency simply means Bitcoins, there is an ocean of crypto tokens out there - in all varieties, sizes, and colors.
Millions of people across the world are now interested in buying cryptocurrencies. But they are not sure what to do. How do you get crypto coins? Where do you store them? And a thousand more questions. We’ll try to simplify it as much as possible to guide you on this exciting journey.
For a start, you need a wallet for your transactions. One of the best cryptocurrency wallets is MetaMask. So read on to learn how to install and use MetaMask for buying, selling and swapping cryptocurrencies.
- What is MetaMask?
- How to Download and Install MetaMask
- Getting Started with your MetaMask Wallet
- Critical Warning: Back up your Seed Words!
- How to Use your MetaMask Wallet
- How to Add ETH to MetaMask Wallet
- How to Add Other Tokens to MetaMask
- How to Swap Tokens on MetaMask
- The Pros and Cons of MetaMask
- How to Keep your MetaMask Account Safe
- The Fees for Using MetaMask
Let’s dive in!
What is MetaMask?
MetaMask is basically a cryptocurrency wallet. With MetaMask, you can easily access your Ethereum wallet using a browser extension and a smartphone app. On this application, you can send and receive coins.
Although Metamask was originally designed for the Ethereum network, now you can connect it to other blockchains as well - such as the Binance Smart Chain and transfer Bep-20 tokens to MetaMask wallet.
MetaMask equips one with a secure login, a key vault, token wallet, and token exchange. That’s basically everything you need to keep your digital assets safe and sound.
MetaMask also gives you access to vast decentralized applications built on the Ethereum Blockchain by connecting to Ethereum-based Dapps. You can spend your coins on games, pile tokens in gambling applications, and trade them on decentralized exchanges.
MetaMask also allows users with an entry point into the world of decentralized finance (DeFi) utilizing smart contracts on blockchains.
Basics of MetaMask
MetaMask as a wallet is compatible with many adopted browsers such as Chrome, Firefox, Brave, and Microsoft Edge. Apart from storing Ethereum’s native currency, ETH, MetaMask also holds tokens that are built on the protocol’s ERC-20 and ERC-72 standards.
A feature that makes MetaMask the most used Ethereum wallet is its outstanding encryption technology, which securely stores passwords and private keys in each user’s device. In addition, it allows users to switch between the Ethereum mainnet and major testnets.
With MetaMask, you can connect multiple wallets as well.
MetaMask is Unique: Being an open-source software, MetaMask has a large development community contributing to its enhancement. The MetaMask wallet uses hierarchical deterministic settings hence backing up one’s account is very easy. The user interface of MetaMask is extremely intuitive and has dependable customer support.
How to Download and Install MetaMask?
The MetaMask wallet can be installed on most of the browsers like Google Chrome, Firefox, the Brave Browser. It’s also available on iOS and Android. The process of installing the wallet for each platform is very user friendly. Here’s our step-by-step guide to make this as easy as possible for you.
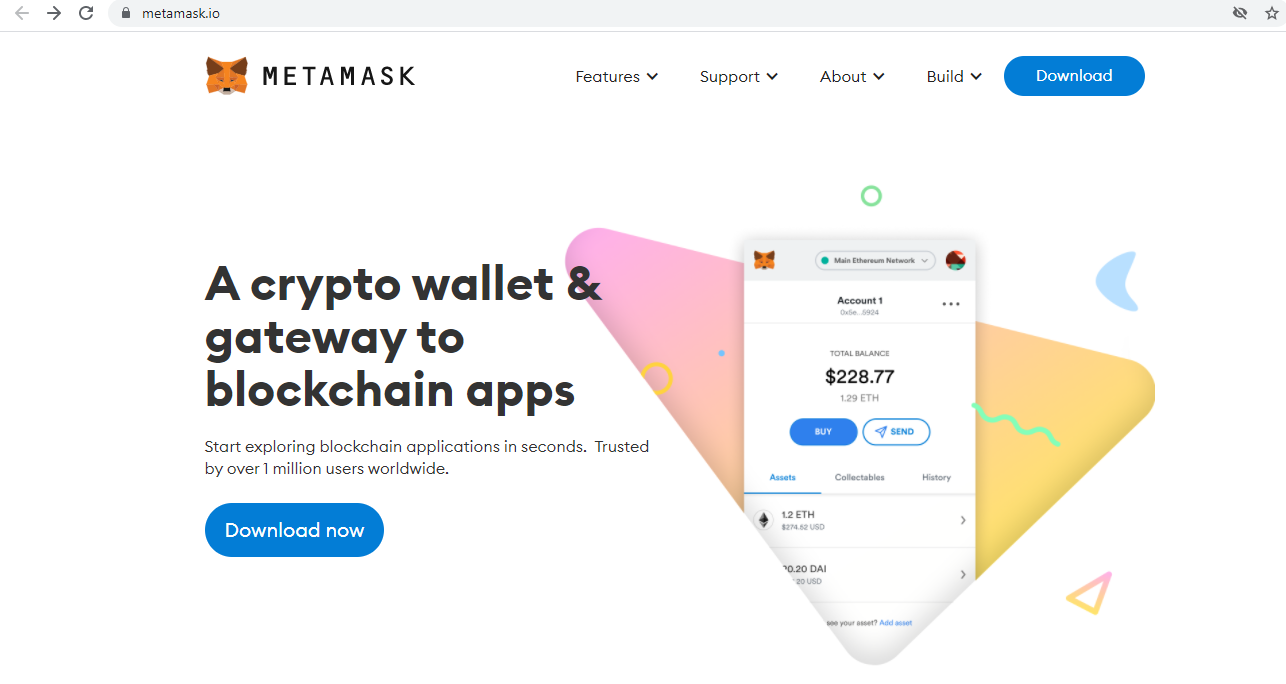
1. Head over to the official website MetaMask.io and click on the ‘Download now’ button.
2. You can now select the browser you are currently using. I have chosen Chrome.
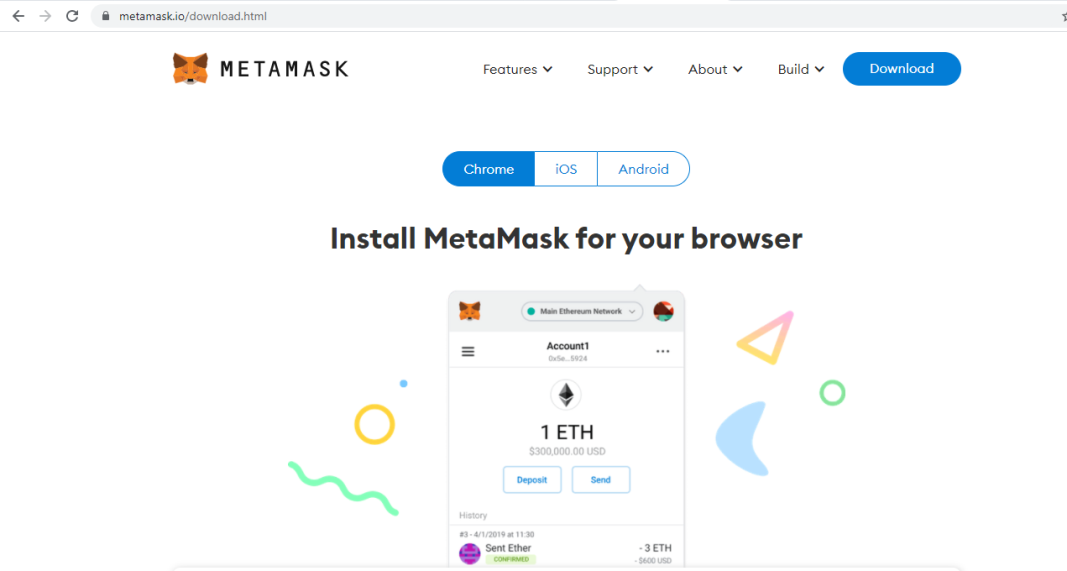
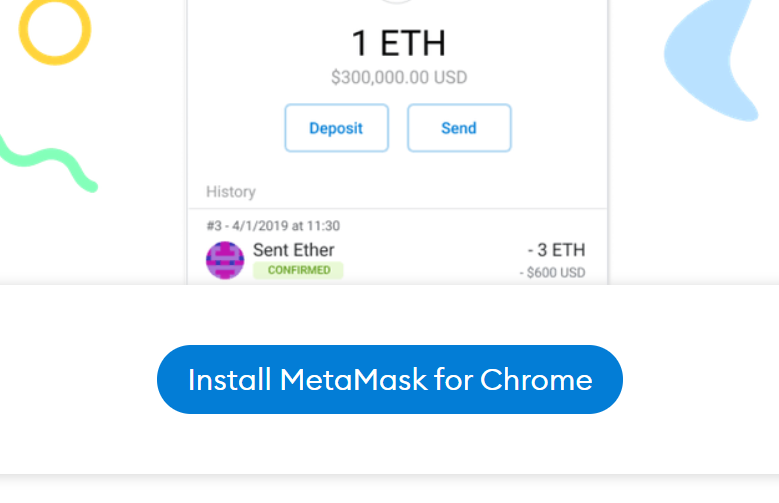
3. You can click on the button ‘Install MetaMask for Chrome’. If you are an IOS or Android, then choose that to get the corresponding installation button.
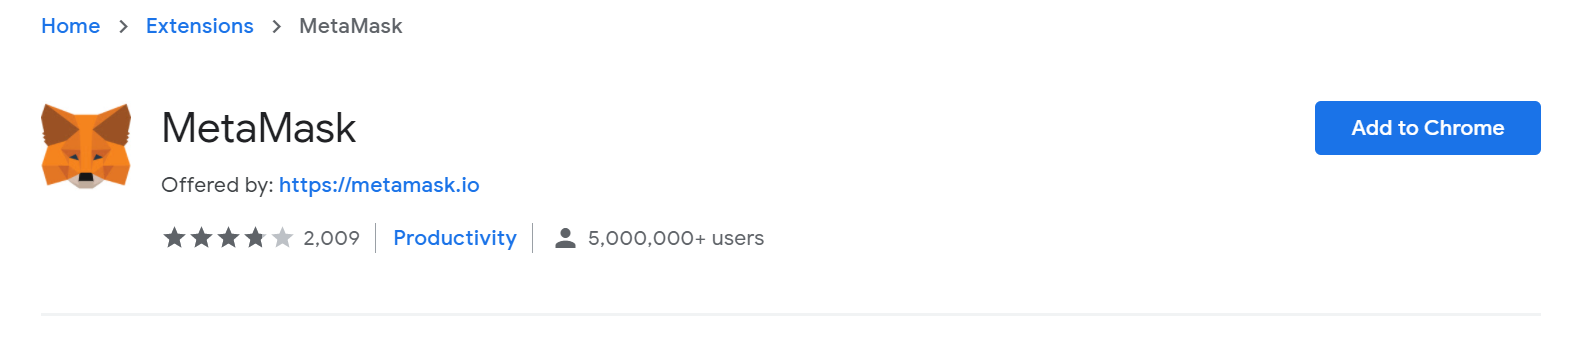
4. You will be redirected to the relevant add-ons site. In this case, that’s the chrome web store. Now click on ‘Add to Chrome’.
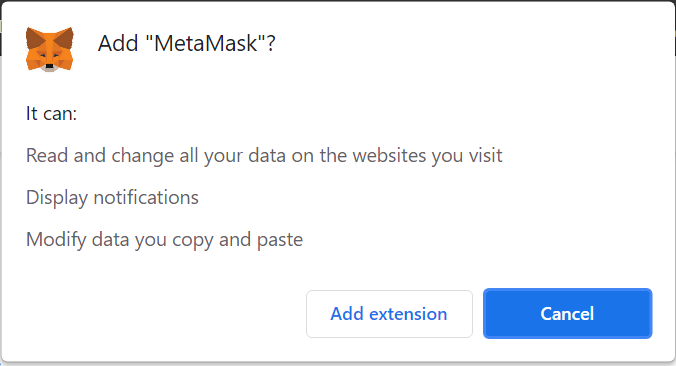
5. Certain permissions need to be granted before you can have it running. If you are happy with the level of access to your browser, then you are good to go. So go ahead and confirm by clicking ‘Add extension’.
6. Now you get a warm welcome to MetaMask with a new window displaying:
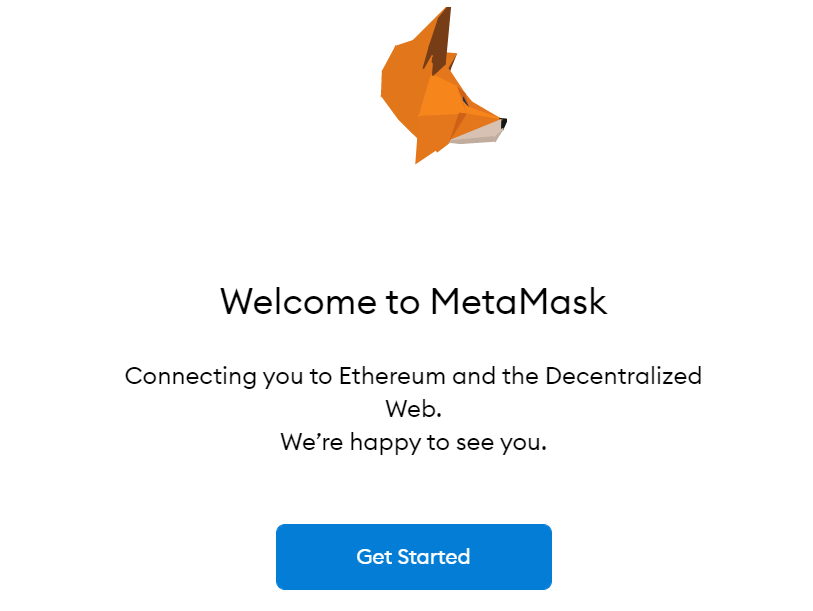
This means your MetaMask download is complete! The fox here is quite adorable. He moves his head to your cursor movements. It’s bound to keep you amused for a few moments. Go ahead, take a moment to enjoy it and smile :)
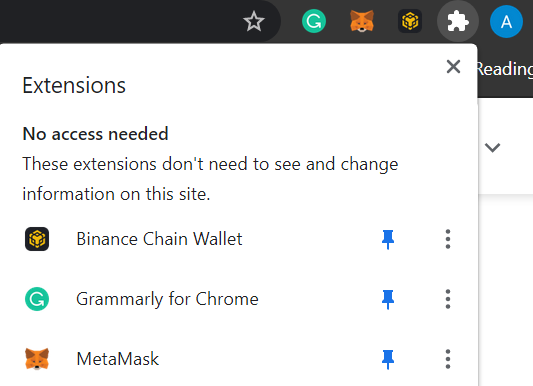
You will be able to view the MetaMask fox icon among your Chrome browser app extensions - on the right upper corner of your browser.
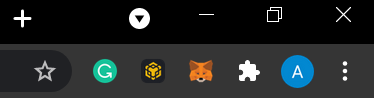
If you can't see it, then click on the extensions icon (a tiny white puzzle piece). You will be able to spot the MetaMask fox in the drop-down list. Now just pin it to your extensions. It will be visible and easily accessible every time you open your Chrome browser.
Getting Started with your MetaMask Wallet
1. Once MetaMask is downloaded and you’ve had your fun with the fox head in the welcome message, click on ‘Get Started’. This is where you will be urged to create a new wallet or import an existing seed phrase.
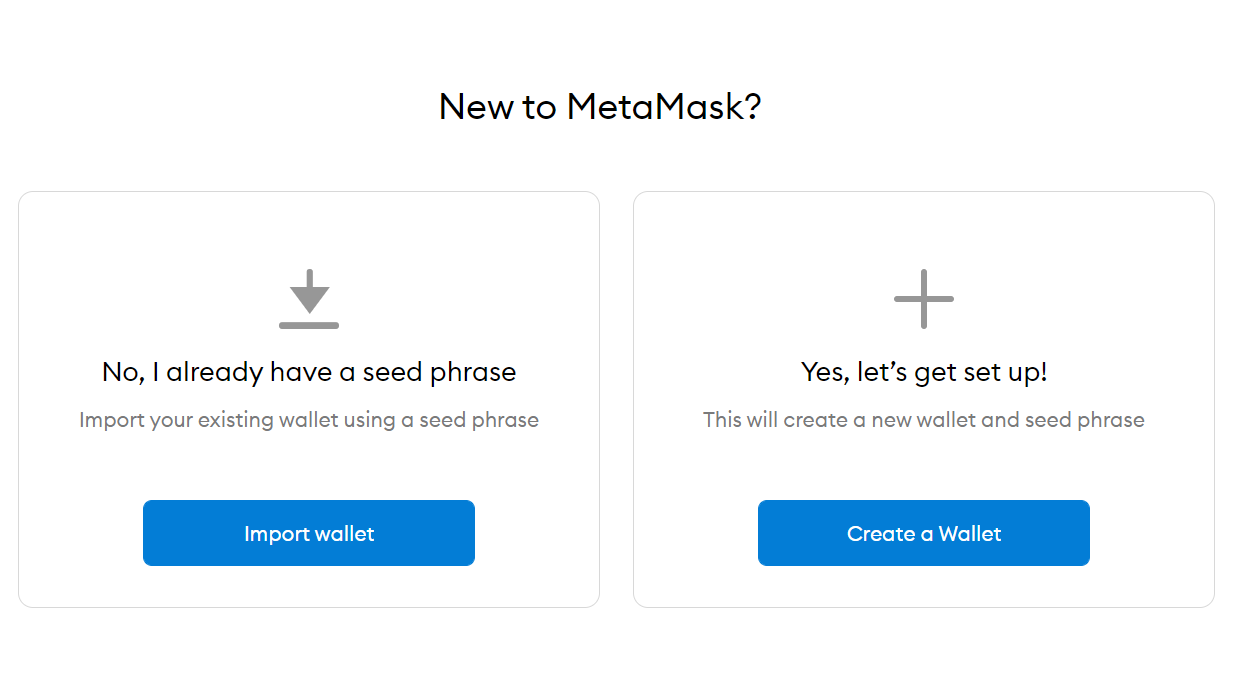
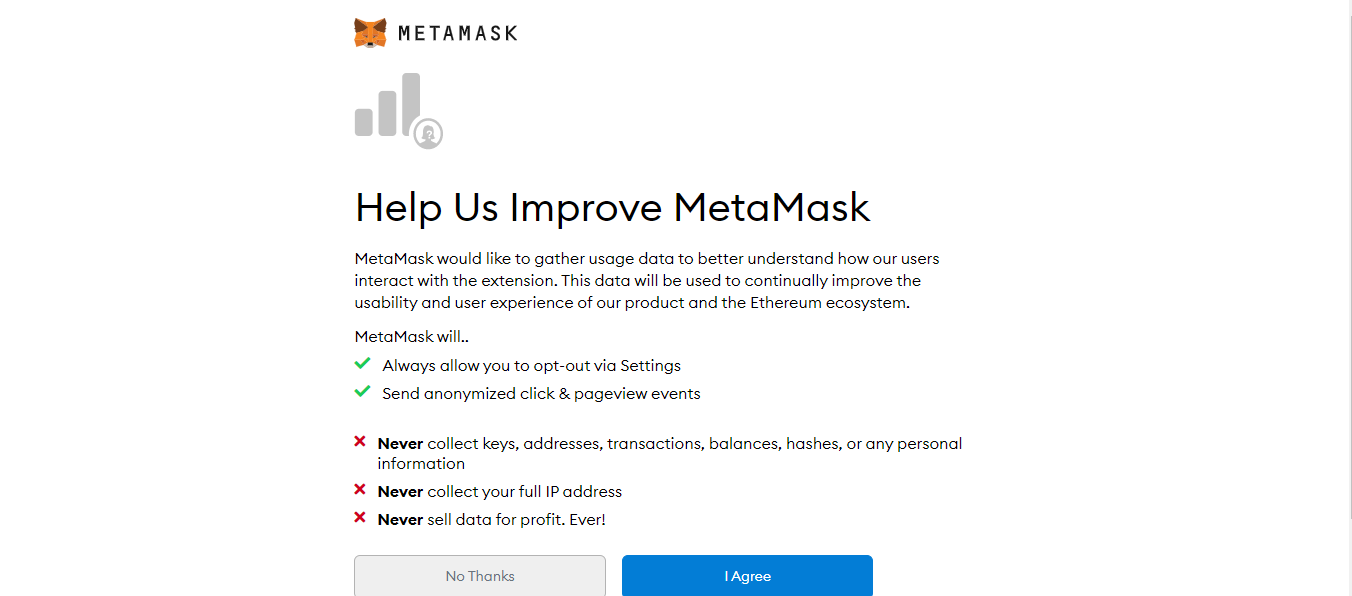
2. Click on ‘Create New Wallet’. The next page asks for permission to collect usage data to help improve the app. You can pick whichever answer you prefer.
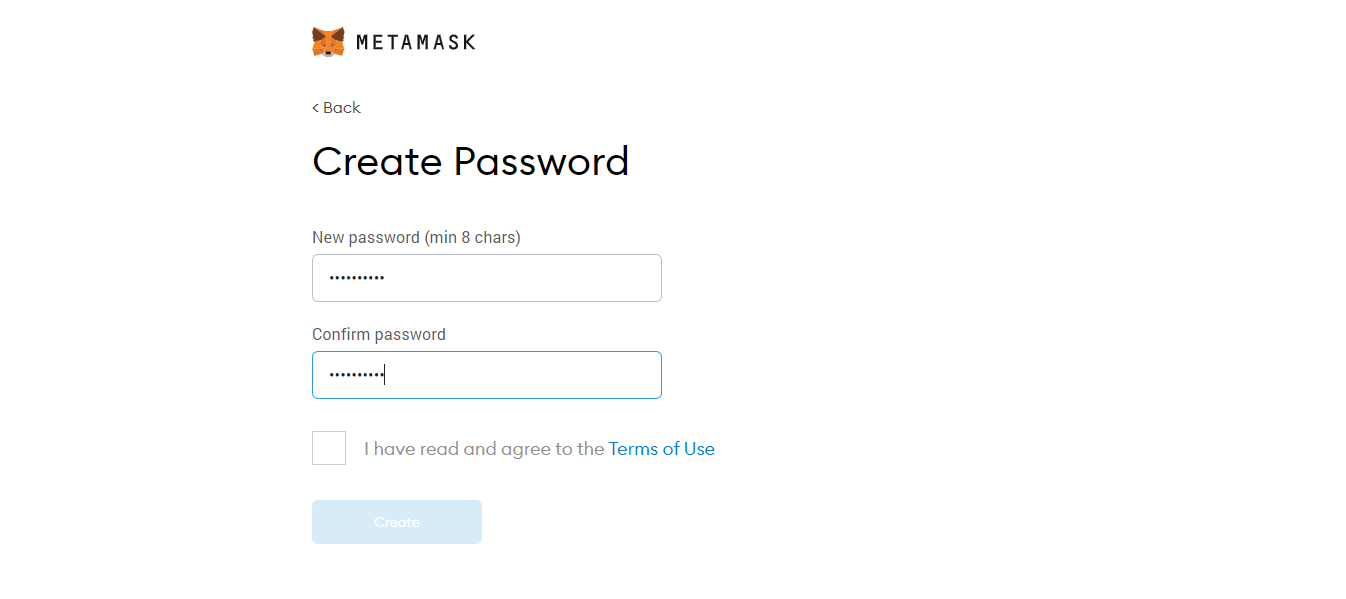
3. Now we need to craft a unique password. If you’re one of those legendary beings that essentially read the user agreement for any software installed, you can assess it by clicking on Terms of Use. Else, come up with a robust password, tick the box, and hit ’Create’.
4. Now you get to the Secret Backup Phrase. Click on the Grey Box to reveal the series of words that make up your unique backup phrase. Write these down in a book or paper and store them safely. You can download and store it on an external hard drive.
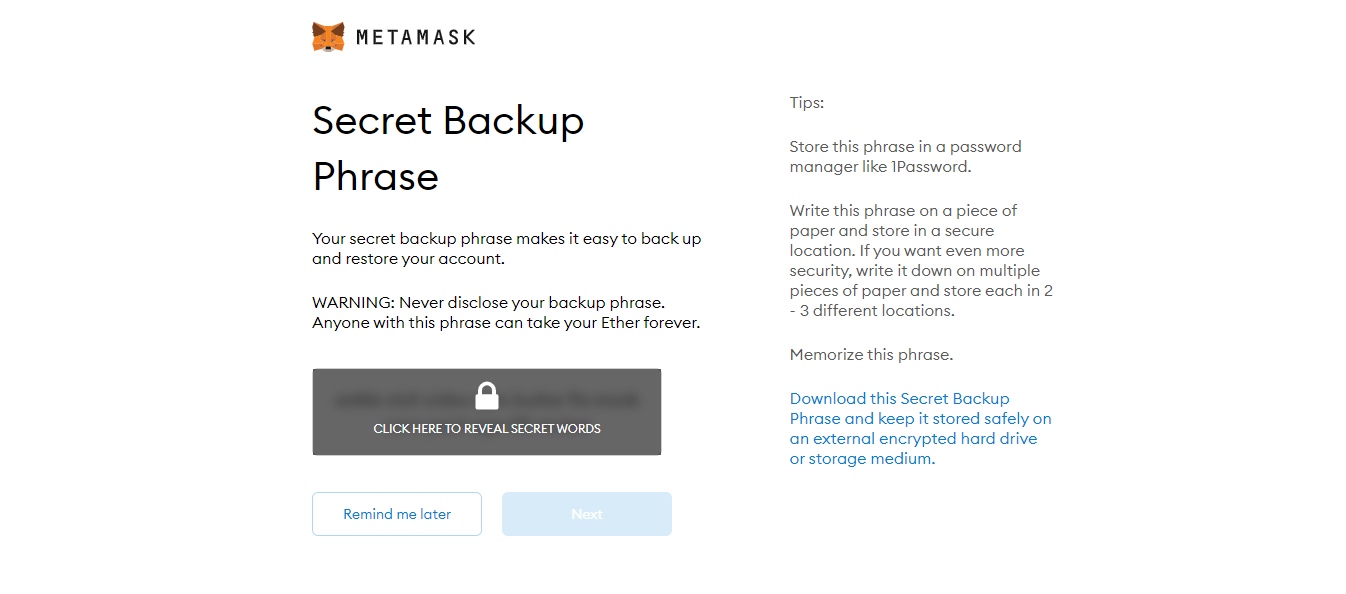
5. When you click on the ‘Next’ button, you will be asked to confirm the phrase.
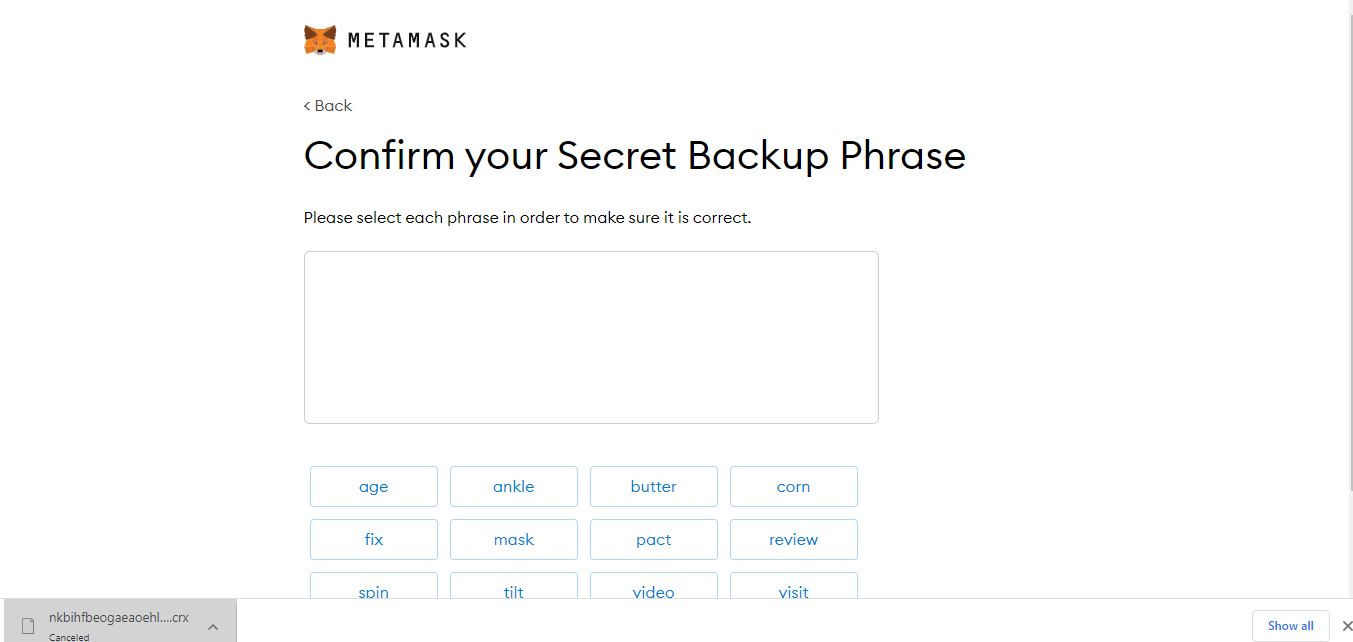
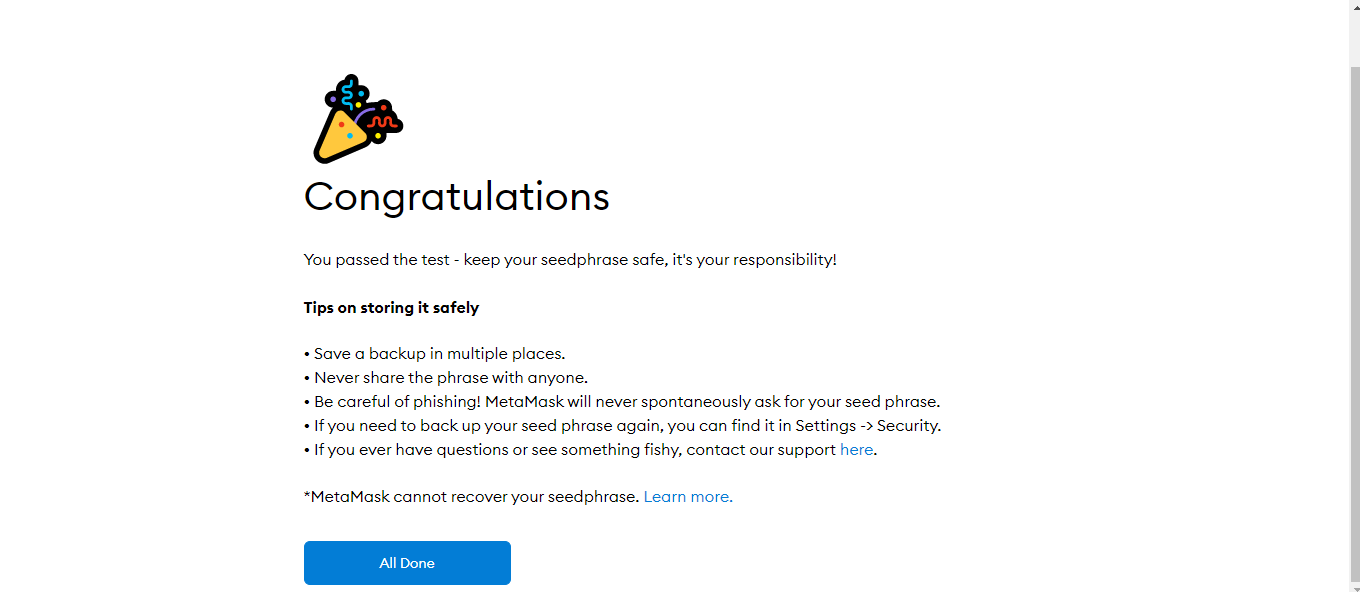
Click on the words of your Secret Backup Phrase in the sequence you took down earlier. Once you confirm the phrase, then you get a congratulatory message.
Your MetaMask Wallet is ready for use.
Critical Warning: Back up your Seed Words!
This point is sufficient to warrant its own subheading. MetaMask being a non-custodial provision, essentially means no one else can access your funds, except you. The tokens are in an encrypted vault and your wallet is protected by your password. This ensures utmost safety since, even if your computer is lost or its data is corrupted/destroyed, no one else can access your wallet.
It’s critical that you store your backup phrase in places other than your computer. Since the seed is the only way you will ever be able to recover your account, you should have multiple backups of it. Download it to a pen drive, write it down on multiple pieces of paper and store these safely in different locations.
Feel that's too paranoid? More than a decade ago, programmer Stefan Thomas was paid 7,002 Bitcoins for making a video on how cryptocurrency works. At that time, Bitcoins were worth a couple of dollars or so. He used an IronKey digital wallet on a hard drive to store them and wrote the password on a piece of paper. He lost the paper.
Over time he made 8 attempts to unlock the wallet. Now he has just two attempts left after which the wallet will become completely inaccessible. In April 2021, Bitcoin hit a high of $65,000. How many copies do you think he could have made for his access code and how should he have stored them? So make sure you don't end up with the same regrets.
How to Use your MetaMask Wallet
Now that the basic setup is done, the decentralized web is unlocked. We can now view the complete list of mainnet decentralized applications. You can purchase unique assets, place bets on prediction markets and also play games.
ETH for MetaMask Transactions
Once your wallet is set up and ready, you need to purchase some ETH. Ether (ETH), is the native token of the Ethereum network.
These cryptocurrency tokens are needed for paying the fee for all transactions on the Ethereum network. Your MetaMask wallet is connected to your web browser as an extension where you can hold and spend ETH.
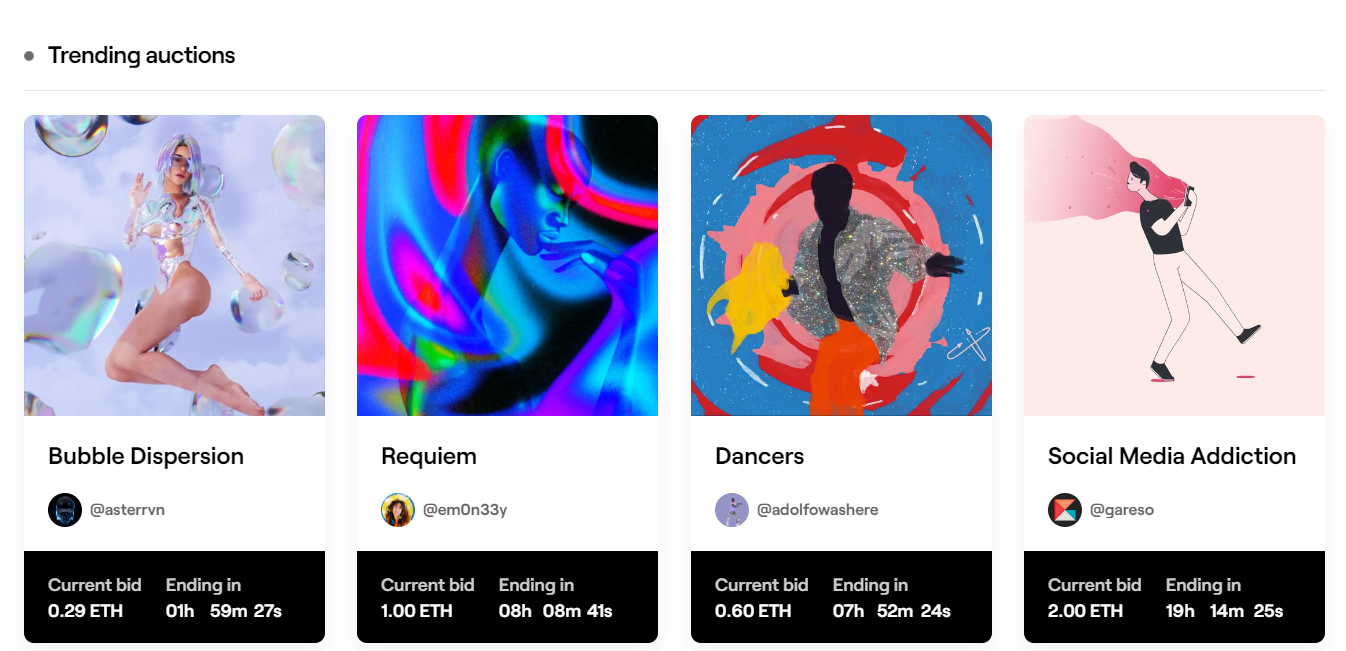
To help beginners understand this better, let’s take a platform on the Ethereum network as an example - Foundation.app.
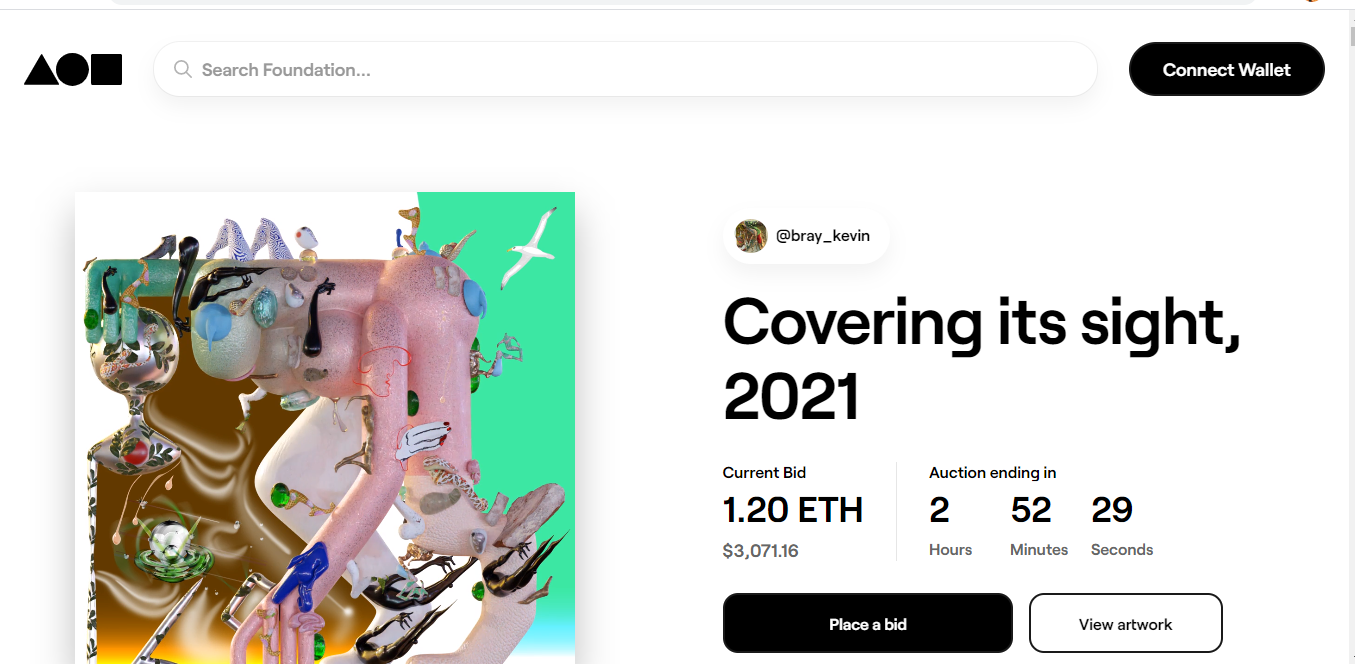
Foundation.app is a platform that aims to build a novel creative economy, a domain where creators can use the Ethereum blockchain to assess their online expression in entirely new ways and build stronger connections with their supporters.
If you want to do any transactions on Foundation.app, then you can use the ETH in your MetaMask wallet to pay the gas fees. Currently, the only wallet that can be connected to Foundation.app is the MetaMask wallet. All of the NFTs (non-fungible tokens) on this platform can be purchased with ETH. The creators of the NFTs get paid in ETH, too
How to Use Coinbase to Buy and Add ETH in MetaMask Wallet
Now that you understand the need for ETH tokens, let’s look at how to get your hands on some.
Armed with your wallet, now we need to go shopping! So which is this shop?
Well, there are many shops (cryptocurrency exchanges) out there selling ETH. To enter these trading zones, you need to download their secure online platform for buying, selling, transferring & storing digital currency.
Many such platforms exist such as Binance, Coinbase, Bittrex, etc.
For now, I am using Coinbase. So let’s head over to Coinbase.com.
1. Create Coinbase Account
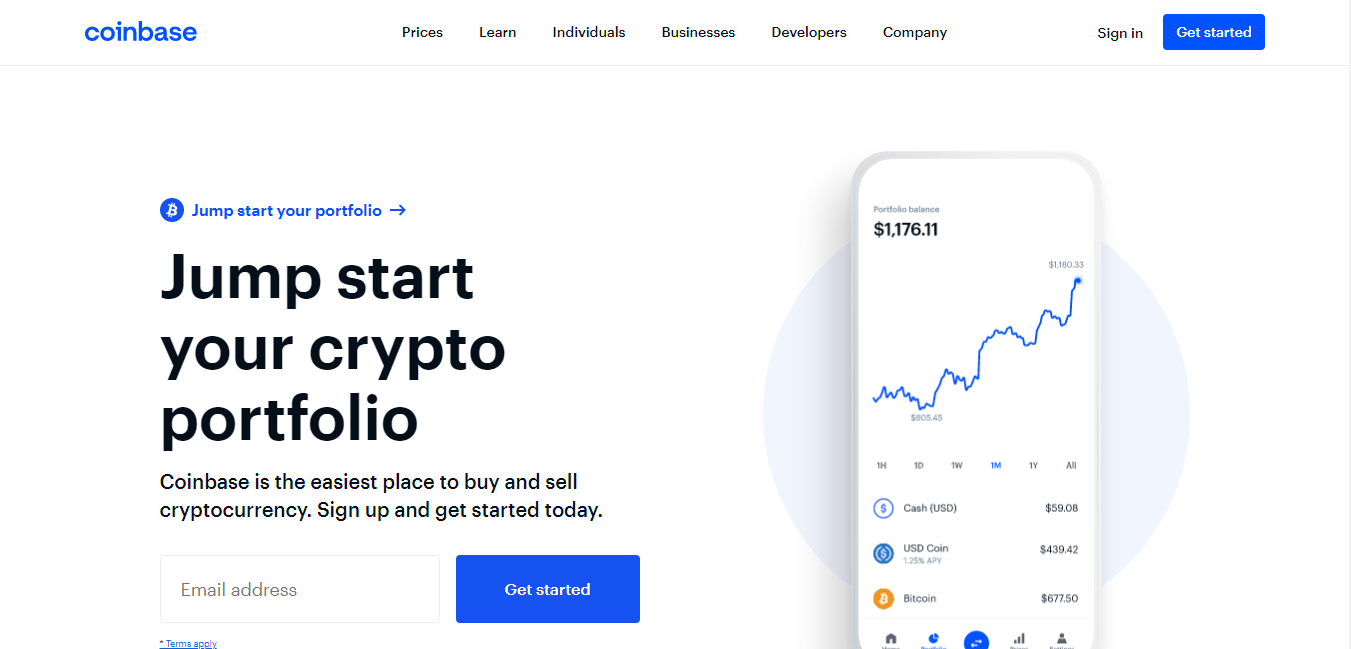
1. Enter your email and click on ‘Get Started’. Create your Coinbase account by entering all required details.
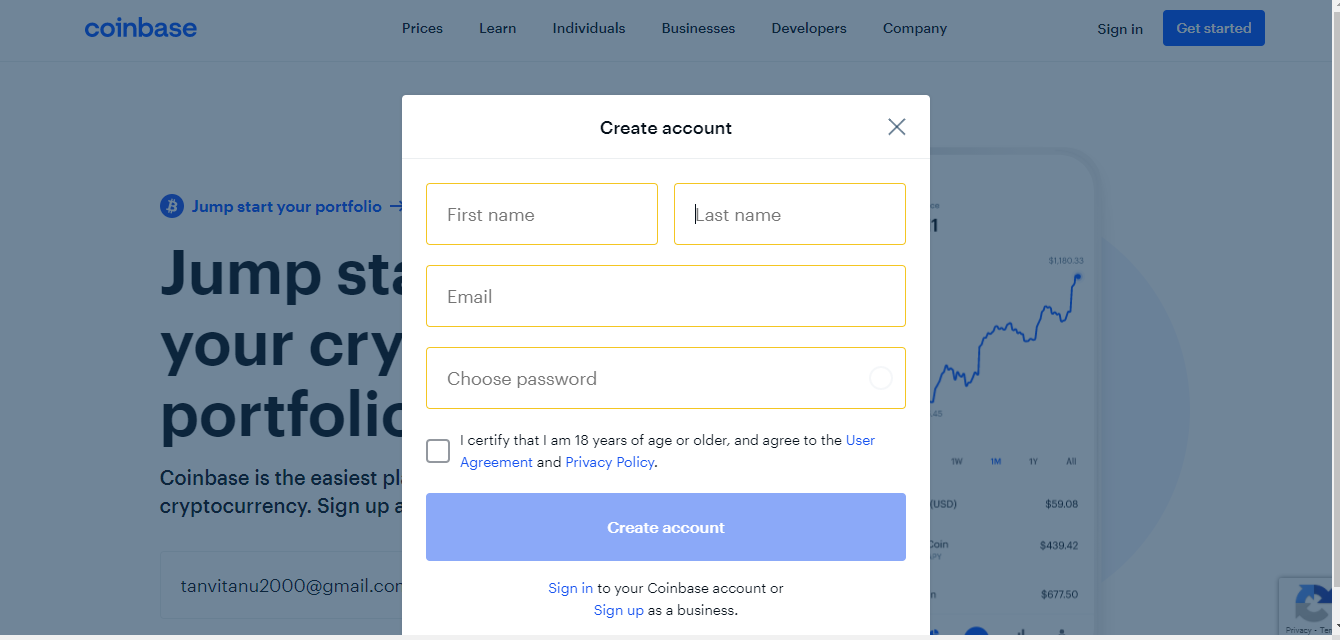
2. You can sign up for your Coinbase account by entering your email and setting a password. You also have the option to sign up as a business, rather than an individual.
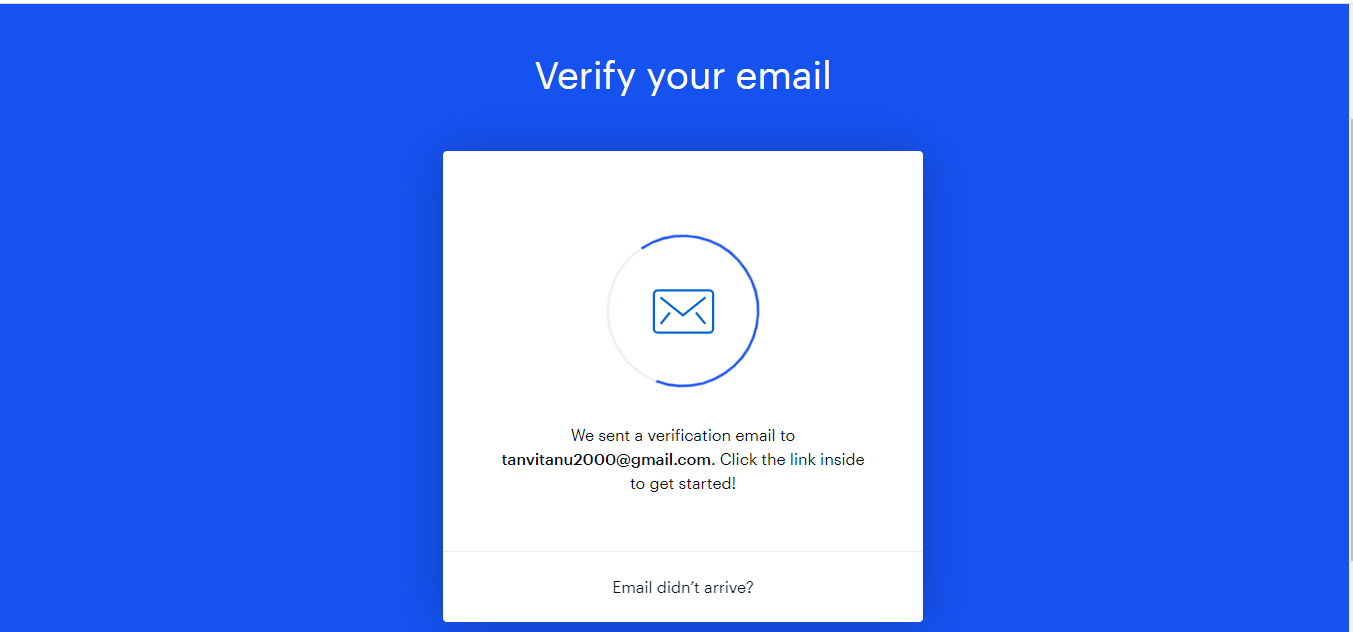
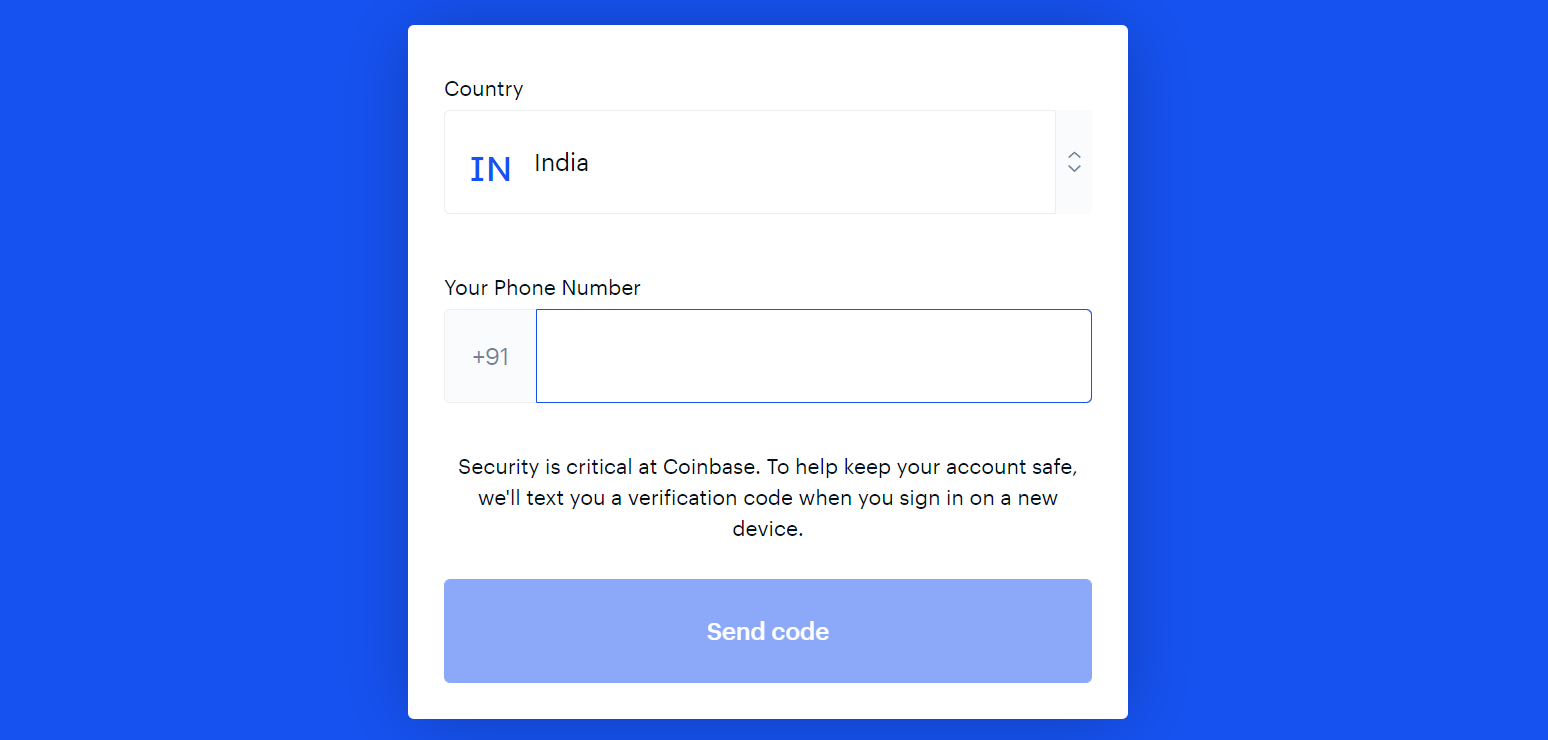
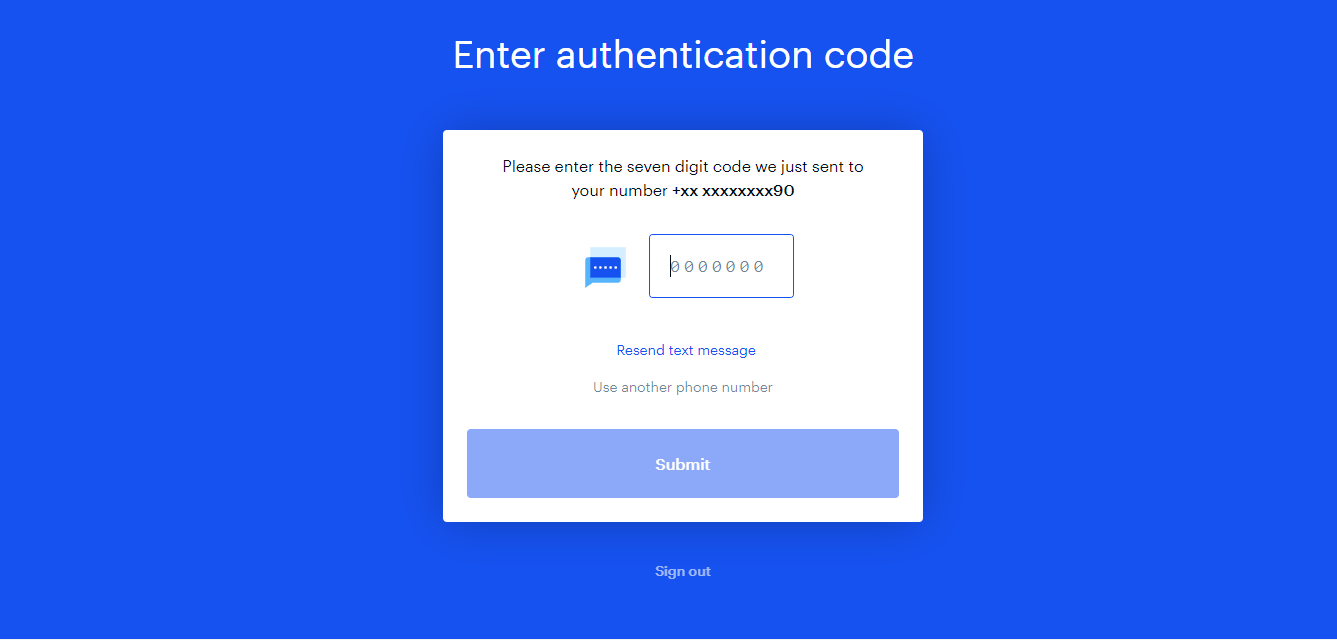
3. Once you verify your email, you will be prompted to enter your phone number as well. This will then have to be verified by the code you receive on your phone.
4. Once the verification process is complete. Connect your debit card or your bank account details to purchase ETH.
2. Complete KYC
To buy and sell ETH and other tokens on Coinbase and to transfer ETH to your MetaMask - you need to complete the KYC (Know Your Customer) procedures by uploading government-approved identification.
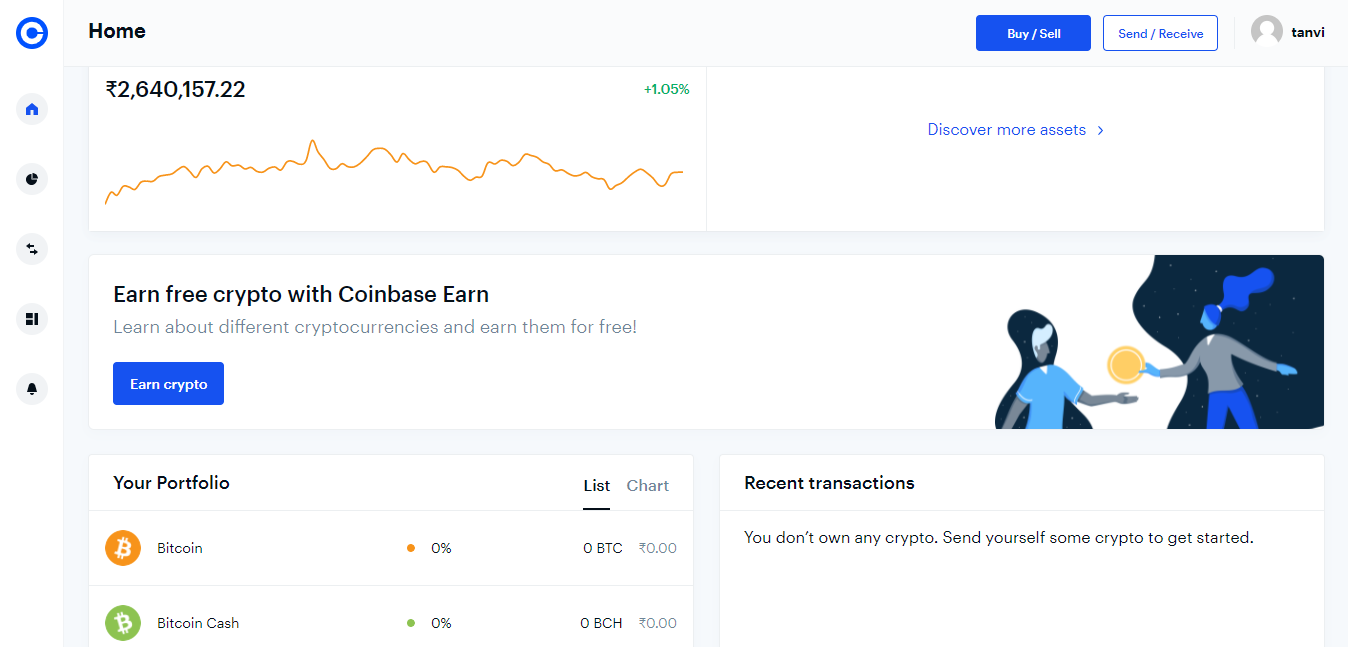
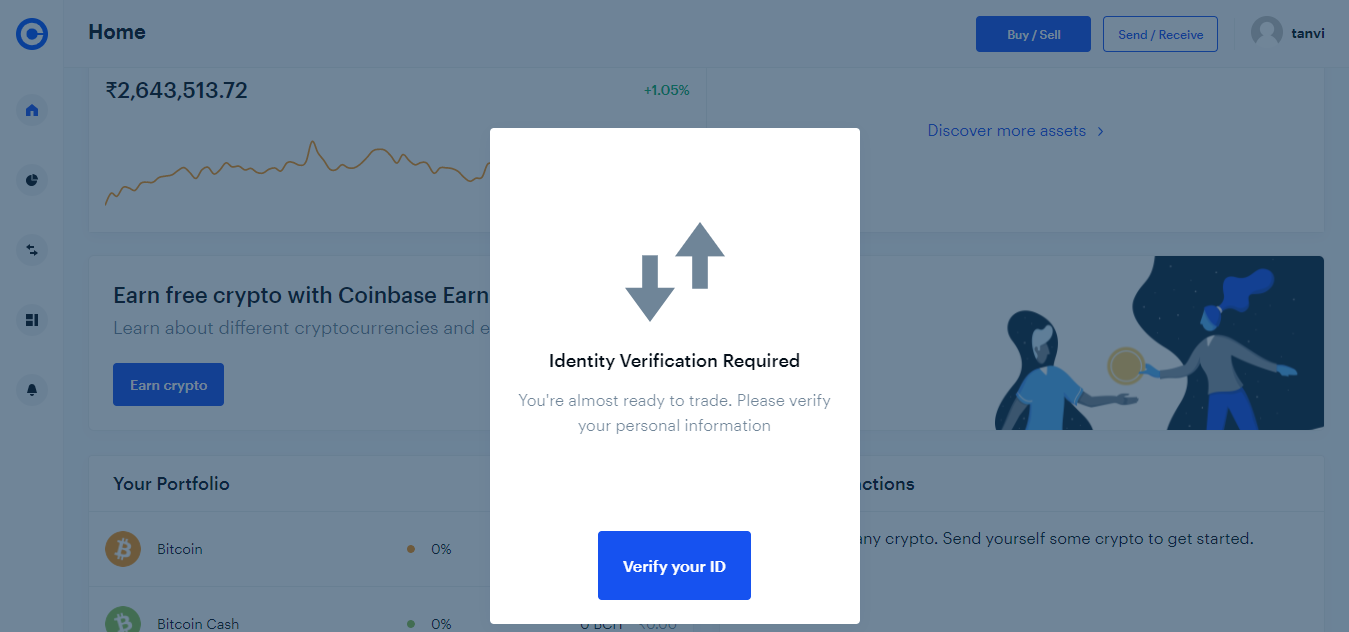
1. When you click on Buy/ Sell for the first time, it will initiate the KYC verification.
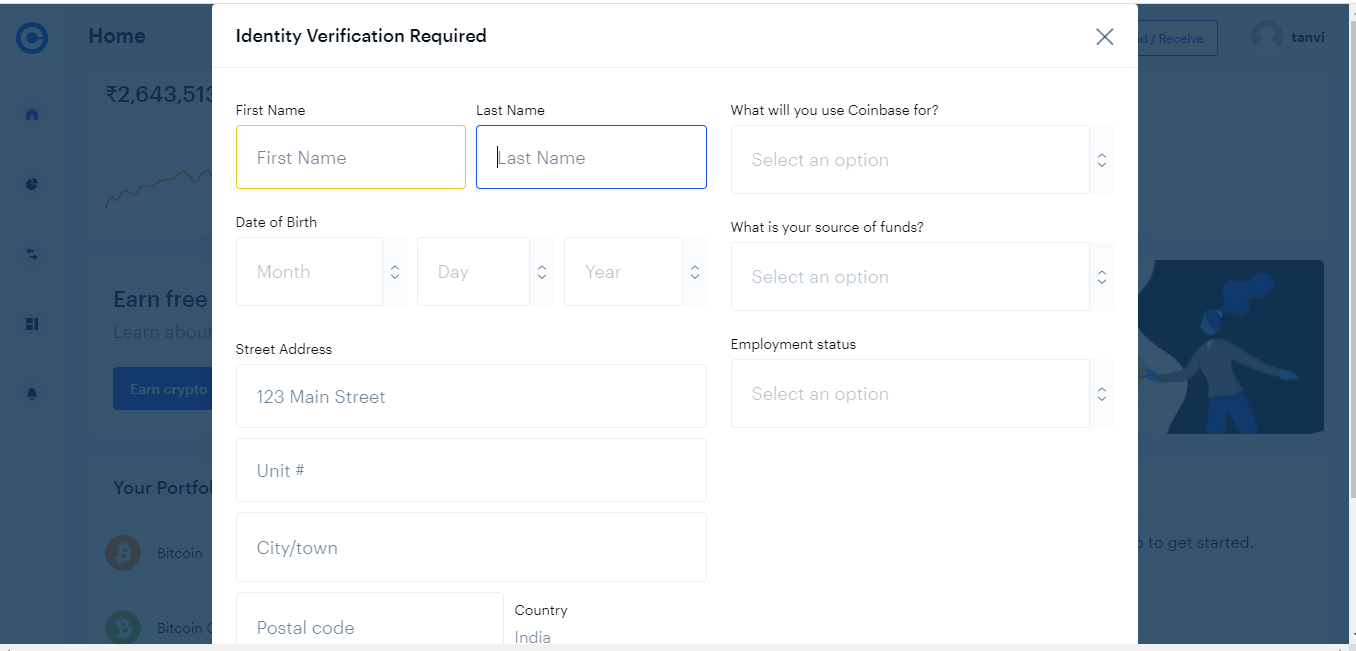
2. A pop-up will prompt you to verify your ID. You need to enter all your particulars and click on proceed.
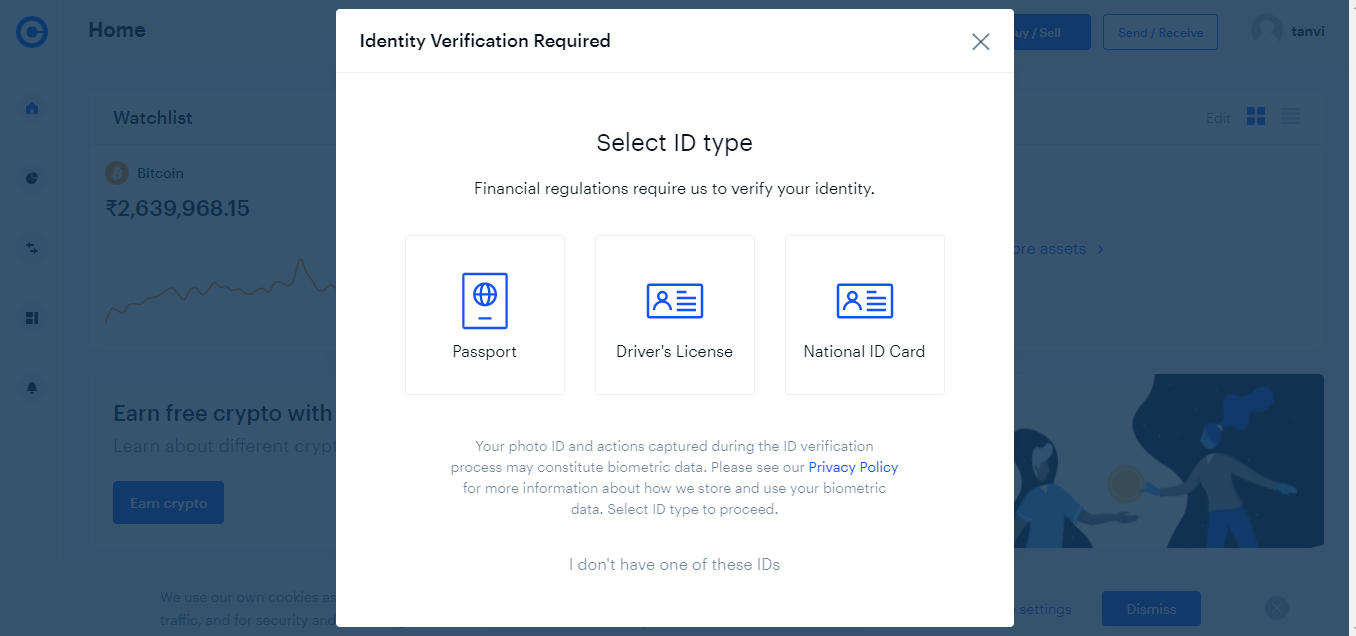
3. You need to upload any of the Government issued IDs - your passport, Aadhar card, or pan card. You can select the mode via which you are going to upload the ID. You have to upload both the front and back of your Government-issued ID.
Once uploaded, it may take a few days ( maybe a week or more) for the verification to get approved.
3. Buying and Selling on Coinbase
Once the identity verification process is completed and approved, you can start buying and selling on Coinbase. To buy ETH, it takes just 5 simple steps.
1. Click on Buy/Sell
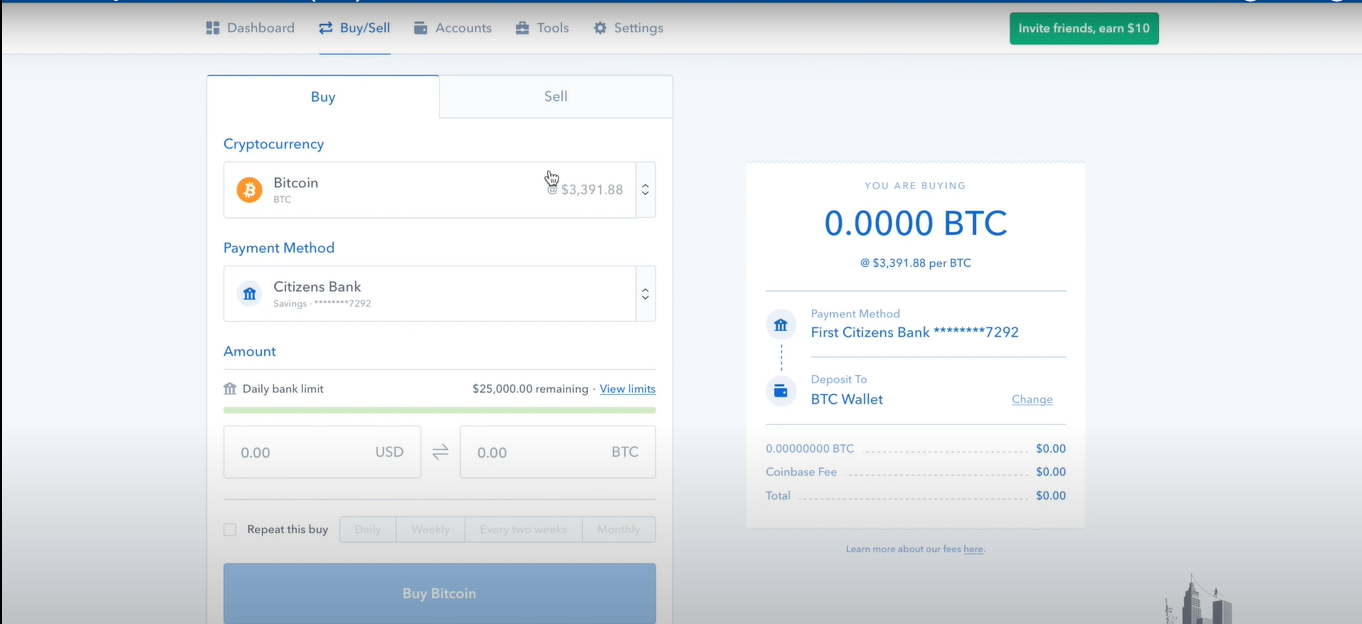
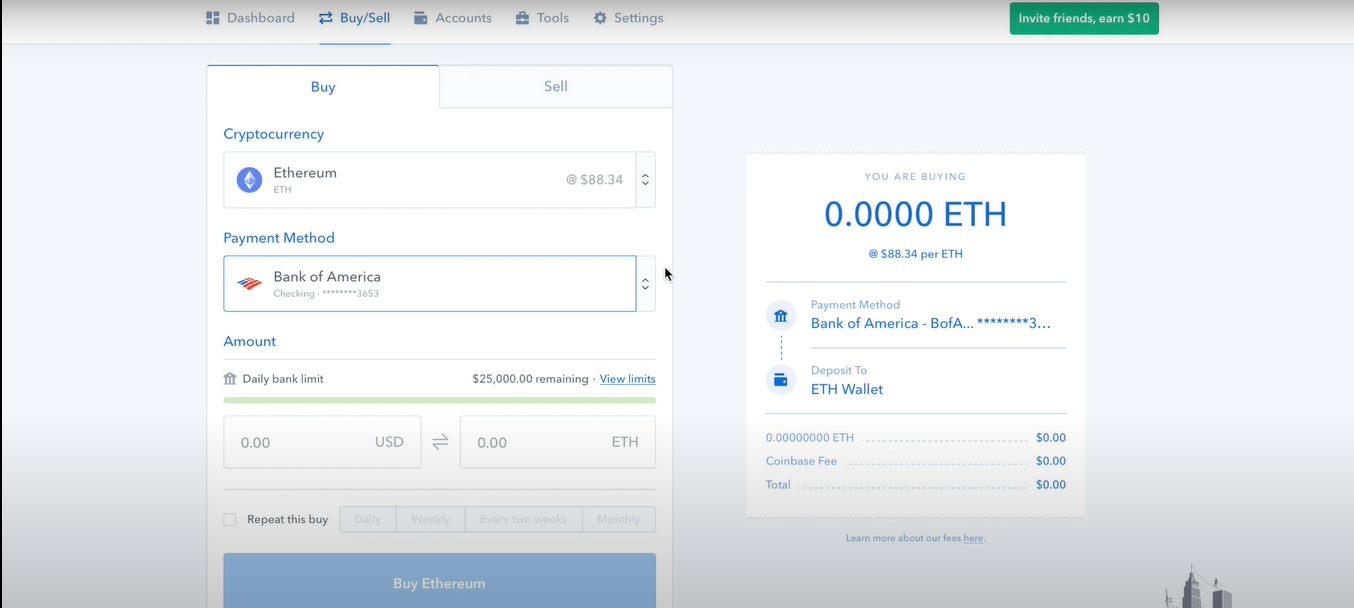
2. A dropdown will show the various options you can trade in. Click on Ethereum

3. You can enter the amount of Ethereum you wish to buy. There is also a daily limit which is set by you, so basically you can’t exceed the same.
4. Click on Preview Buy to confirm the order.
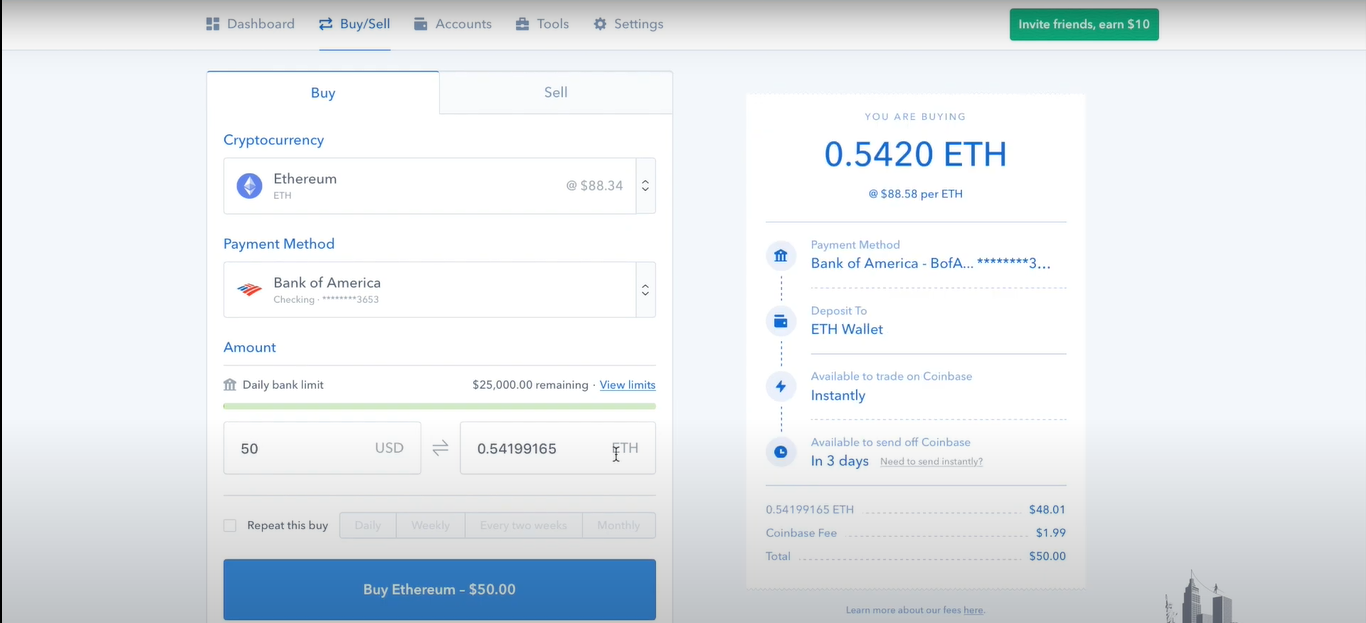
5. Select Buy Now to complete the purchase.
You are now a proud owner of your own ETH.
4. Transferring ETH from Coinbase to Metamask Wallet
A notification will be sent from Coinbase on its availability to send to your MetaMask wallet.
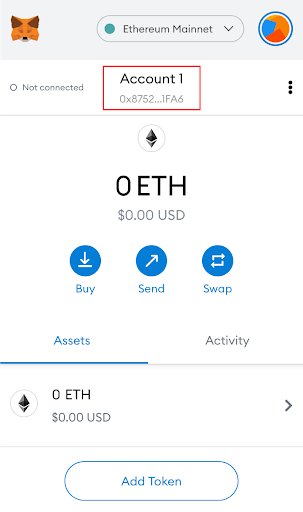
1. Click on Account in your MetaMask wallet to copy your Ethereum address. Your Ethereum wallet address (similar to a bank account number) will let you transfer and receive crypto from anyone, anywhere in the world.
2. Now from the Coinbase website, select Portfolio and select Ethereum. Click send.
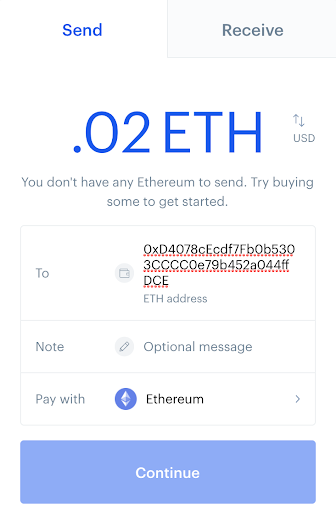
3. In the ‘To’ field, paste in the wallet address (copied earlier from your MetaMask wallet). Double-check that you have correctly pasted the 42 character wallet address because, by any chance that you have entered the wrong address, there is no way you are getting it back. Hence caution is required while entering the address.
4. Click Continue and Confirm to send your ETH to your MetaMask wallet.
How to Add Other Tokens to your MetaMask Wallet
Generally, the ETH you own in your account is displayed automatically on the home screen of your MetaMask wallet. But this doesn’t mean it can hold only ETH. Metamask supports ETH and any ETH-based token such as ERC-20, 721, and more.
MetaMask is no longer just a bridge to the Ethereum network, it now connects to the Binance Smart Chain ecosystem as well. BSC users can also now enjoy MetaMask. You can add Bep-20 tokens too.

1. To add the tokens manually, scroll down and click on the ’Add Token’ button.
2. This will take you to the search bar. Enter the token name or just the beginning letters of its name to get the drop-down list of standard tokens easily. Just pick your choice.

3. For example, I chose Aave BUSD. I was redirected to a page where I had the option to add my aBUSD tokens.
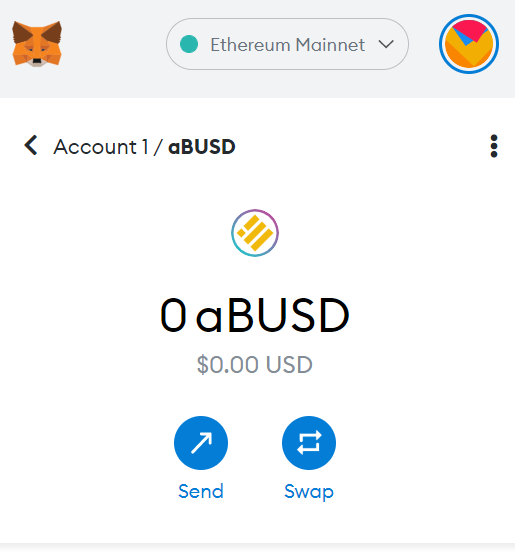
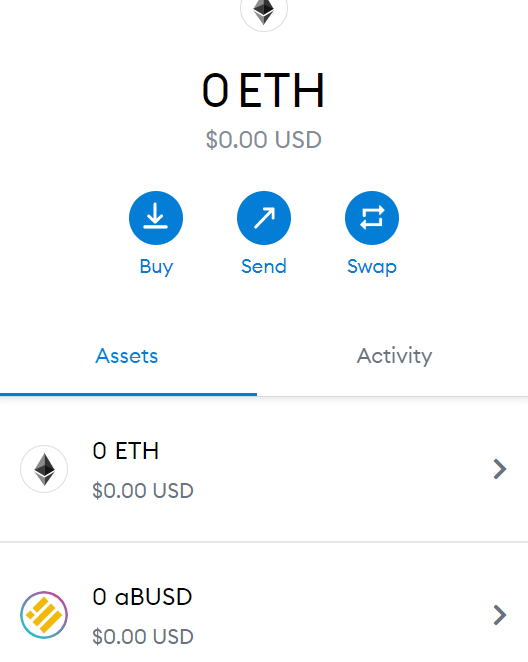
4. You can send/swap any token in a similar manner. Once you add these tokens to your wallet, they will be displayed in your assets. As you can see ‘aBUSD’ has now appeared in the list as we added the token.
5. For the lesser-known tokens, we need to add their contract address after clicking on ‘Custom Token’.
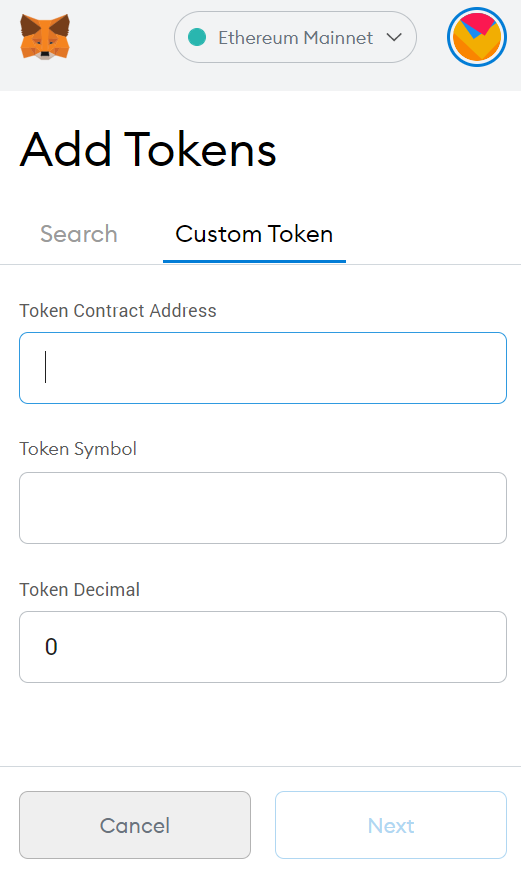
You can click on the ‘Assets’ tab’ on the home screen, to view your crypto holdings.
Swapping Tokens on MetaMask
MetaMask has a feature where you can swap one token for another.
1. Log in to your MetaMask wallet. Click on the Swap button.
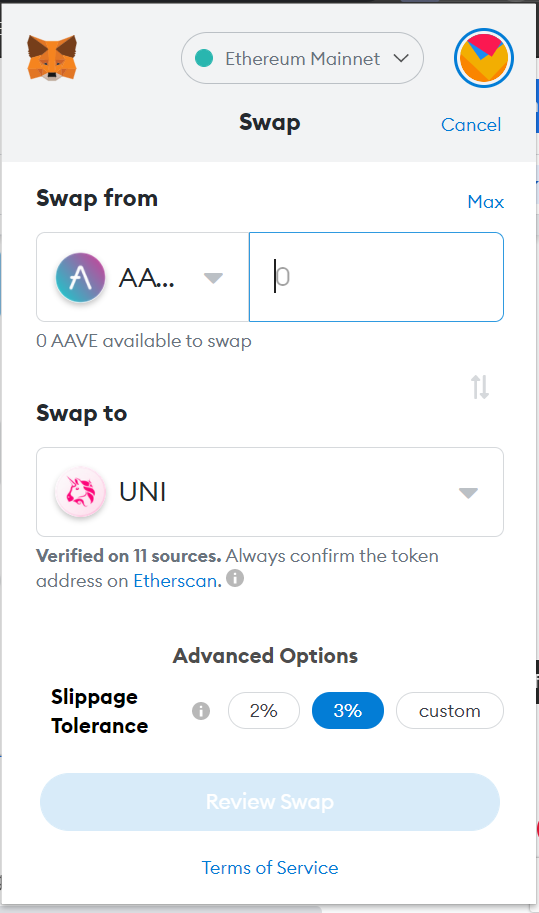
2. Now choose the tokens you wish to exchange from the dropdown options in each section. Enter the quantity of token for swapping and then ‘Review Swap’.
3. The estimated fee for the swap is also shown. If you are satisfied with the details, then perform the swap.
The Pros and Cons: Interesting Features of the MetaMask Wallet
There are many cryptocurrency wallets out there. So why should you choose MetaMask? So let’s now take a look at the pros and cons of the MetaMask wallet.
1. You Can Connect MetaMask to Hardware Wallets
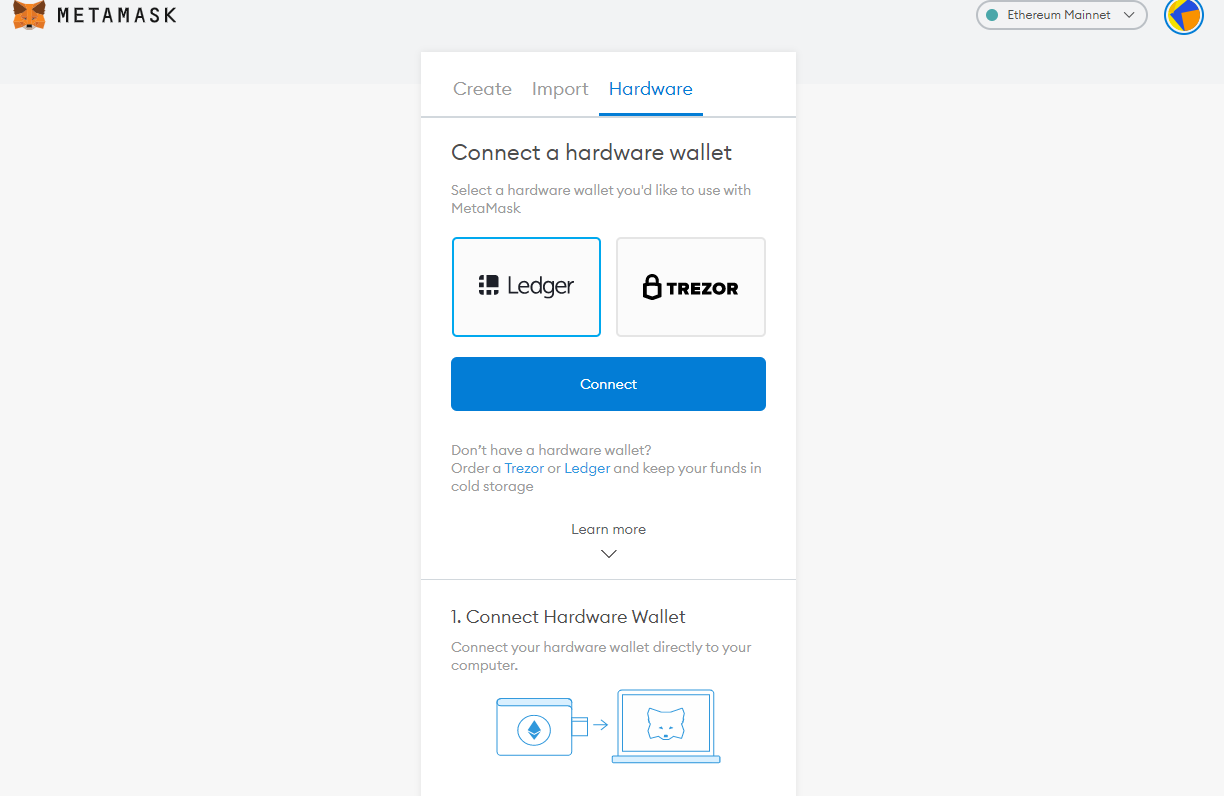
MetaMask also allows you to connect to hardware wallets such as Ledger and Trezor. You can create a contact list, send and receive funds - as you would do in a normal wallet. As a user, you can always customize the settings to suit your needs.
2. MetaMask has Open-Source Software
MetaMask is an open-source code. It’s online. It’s free. It’s easily accessible.
With MetaMask’s open-source software, you can even build your own version of it (and no, I’m not recommending that).
You can compare this to adding content to Wikipedia. Anyone can review the content and add to it. Did you know that the MetaMask community has millions of active users! MetaMask is continuously updated and improved by enthusiasts in its community.
3. The Multi-Million MetaMask Community
MetaMask users are part of the Ethereum community. But now they are becoming an exclusive community of their own.
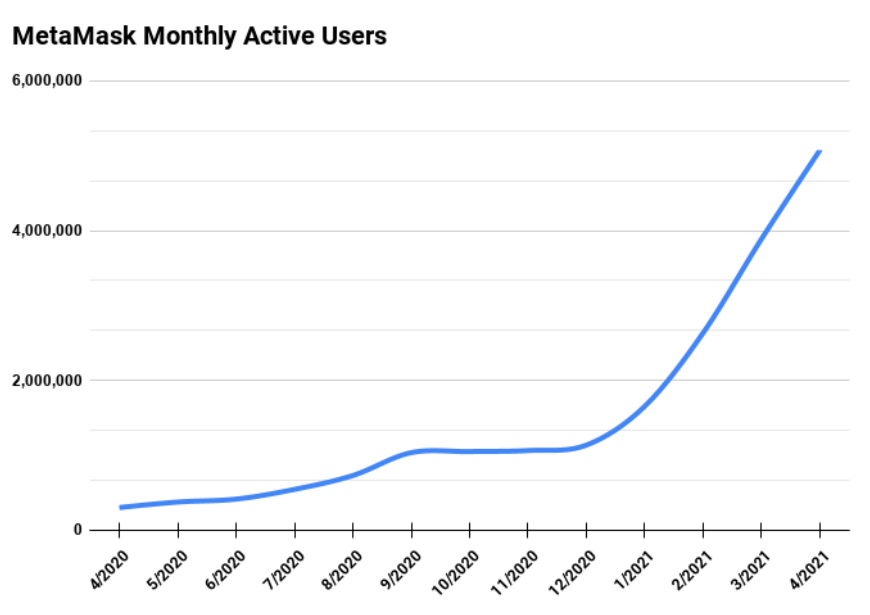
From October 2019, MetaMask grew over 4x to reach 1 million monthly active users in October 2020. But in just 6 more months, it hit over 5 million users! Its exponential growth has been nothing short of stunning! MetaMask is now one of the most popular gateways to the decentralized web.
4. MetaMask Wallet has HD settings
No, the HD does not stand for High Definition for display quality. In the crypto world, HD represents ‘Hierarchical Deterministic’ settings. An HD wallet can automatically generate the seed phrase or the keys (the secret recovery phrase) for the wallet so users do not have to create their own.
The seed phrase is a list of words in a certain order. You can back up your account using the seed phrase. With MetaMask’s HD settings, backing up your account is very easy. If the device you are using is lost or damaged, you will need this ‘secret recovery phrase’ to retrieve/access your MetaMask wallet.
5. MetaMask has Local Key Storage
With MetaMask, you get more control over your public and private keys. Many wallet providers, especially exchanges that store your crypto assets, store the keys on their own servers.
But MetaMask keys are not stored in any remote server. They are stored in your own browser. Although this gives you better control over the key, it also raises other security concerns. So make sure to learn how to keep your MetaMask wallet safe from phishing attacks - it’s covered later in this article.
6. MetaMask has Easy-to-Use Interface
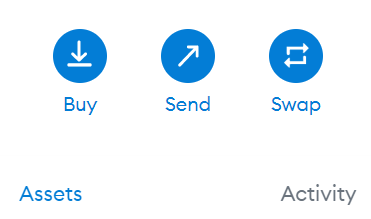
If you are a beginner, you need not worry at all, the MetaMask interface is very basic and extremely intuitive. It has a built-in web3 browser making it very convenient for use. The screen is clear and uncluttered with prominent buttons for buying, sending, and swapping tokens.
From copying your wallet address to viewing your asset holding or your transaction history, every action is evident on the home screen itself.
7. Excellent Customer Support
As we experiment with transactions in the crypto world, many of us panic when our funds have not reached their destination. What happened! Did I make a mistake? Did I lose them forever? What should I do now? Who do I ask?
Well, that’s what the customer support on MetaMask is for.
Check out MetaMask’s support page - their official FAQ page for answers to common queries. You can email support@metamask.io for any help you need. If you prefer to listen rather than read about using Metamask, then there are videos on the Metamask homepage.
Disadvantages of MetaMask
Now that you have an idea of the pros, let’s take a look at the cons.
- MetaMask is a Hot Wallet: A cold wallet is one that’s stored offline. This means your wallet key is stored in a device (or paper) that’s not connected to the internet.
A hot wallet, on the other hand, is stored online. This includes exchanges like Coinbase or your Binance Account. MetaMask runs on an internet-connected device making it a hot wallet. This exposes you to more risks than a cold wallet. Data that is stored online is always at risk from hackers.
- Risks of Browser Access: MetaMask does not access your personal information. But the browser you are using can. No, don’t worry, your browser cannot access your key. But the browser (such as Google Chrome) on which you have installed your MetaMask wallet collects information on when you log in and how the app is being used.
So how do you ensure the safety of your MetaMask Wallet? Let’s look into that now.
How to Keep your MetaMask Wallet Safe from Phishing Attacks
One of the best ways to protect yourself from MetaMark phishing attacks is to disable the extension when you are not using the wallet. Enable it only when you need to use the wallet.
Another important thing to remember is that you should close all the tabs in your browser and open only the ones needed for your transaction. Do not open any other tabs during the transaction period.
Once done, close the wallet and disable the extension before opening any other tab. If you are downloading illegal torrent videos while doing your transactions, don’t be surprised if your funds vanish.
Wondering how that’s possible?
When your Metamask wallet is unlocked, all other tabs open on the same browser can view the wallet address that’s being used. Keep in mind that the Ethereum blockchain is public.
Armed with your wallet address, anyone can use blockchain explorers like Etherscan or ETHplorer to get the details of your transactions. They can collect data of outgoing or incoming transactions such as the time and amount as well as the origin of the funds and their recipient.
Malicious parties can use this information to trick you and steal your funds. Phishing activities are aimed at tricking you to reveal information they need to steal your funds.
Failed Transaction Alerts to Steal your Funds: They may use your outgoing transaction information to send you a pop-up saying the transaction has failed. Considering that they can enter the actual details of your transaction, you may think it’s a genuine alert.
They will ask you to repeat the transaction and as you do - you may not see that they have switched the receiving address to their own - and your funds vanish!
Tricking you into Revealing your Password: With the details of the last transaction, the phisher can send you a pop-up asking for your password to confirm the transaction. Once you enter the password and click on submit/continue, the pop-up vanishes. You don’t suspect a thing, but the attacker now has your password. Your wallet security is completely compromised.
A Pop-up Asking to Confirm Seed Phrase: Never fall for that one! Metamask will never ask for your seed phrase. This is for you only - when you want to retrieve your account. The seed phrase is never used for transactions. If they get your seed phrase, they can take over your MetaMask wallet completely.
Now you have some idea how tricky these attacks can be. Prevention is better than cure. Just keep all other tabs closed and disable the extension when not in use.
What are the Fees for Using MetaMask?
Every transaction in MetaMask has a default gas fee, which is dependent on the Ethereum network. The user has an option to alter the gas fees and gas limits via an advanced tab that permits parameter customization.
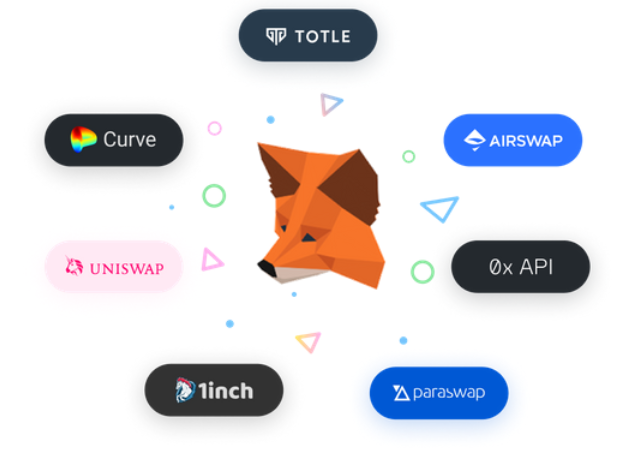
Find the best price: With MetaMask you can access a large selection of tokens for trading. MetaMask compares prices from multiple aggregators and automated market makers to offer you the most competitive prices for a specified token.
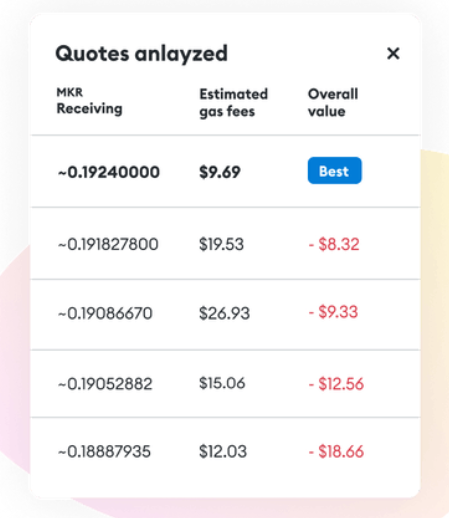
Reduced gas costs: The transaction fees on the Ethereum network dynamically changes as a result of many factors. Each route has different gas fees for executing transactions. To find the best trade, Metamask checks out different routes. to find you the most gas-efficient route for every trade.
Slippage protection: When liquidity is less on a particular DEX, large swaps may experience wild price swings. MetaMask employs slippage protection, by spreading orders across multiple exchanges. This decreases the slippage impact on the final price.
Service charge: For all these efforts of MetaMask, a service charge of 0.875% automatically factored into each quote. The fees are for supporting the ongoing development of the platform.
Before You Go…
For any person interacting with decentralized applications, the MetaMask wallet is an indispensable tool. Although it was built initially as a bridge to the Ethereum network, Binance users can also now take advantage of the years of development put into this application.
Metamask is very easy to install and use. You can use it for sending and receiving crypto tokens. You can swap coins easily. You can use it for a large variety of tokens, but you need ETH for paying transaction fees.
If you are worried about security, then follow the precautions we have outlined. Keep in mind that this is more like a purse for pocket change to be used in DeFi applications - rather than a bank for storing large assets of cryptocurrency.
So go ahead, download, and install MetaMask right away!